Our 6-Step ODM Process for Designing Children’s Tableware
Designing new children's tableware from scratch can feel overwhelming. I’ve guided many B2B clients—especially first-time importers—through our ODM process[^1] with step-by-step support.
Our 6-step ODM process includes everything from concept to mass production, giving your brand a clear timeline, design support, and built-in quality control[^2] for each stage.

Many buyers struggle to find suppliers who can both design and deliver. That’s why our process breaks it down into manageable steps. From design files to QC, let’s explore how your tableware brand can turn an idea into a real product.
What design files[^3] are needed to start an ODM project?
When I receive an ODM request, the first thing I check is whether the buyer has any visual references. This saves days of back-and-forth.
To begin an ODM project, you’ll need a 2D sketch, sample photo, or CAD file. We also accept hand drawings or mood boards to speed up communication.
What makes a good starting file?
You don’t need a complete engineering drawing. We often receive:
- Hand-drawn sketches with dimensions
- Mood boards showing similar styles
- Reference samples sent by courier
- 2D or 3D files (STEP, IGES, DWG, AI)
Here’s a simple comparison:
| File Type | Accepted? | Notes |
| Hand sketch | ✅ | Must include size estimates |
| Sample photo | ✅ | Best when multiple angles are included |
| CAD 2D/3D file | ✅ | Speeds up mold and DFM evaluation |
| No file | ⚠️ | We can assist, but process takes longer |
Starting with a sketch and size estimate allows us to create initial drafts quickly. From there, our design team can provide 2D drawings and DFM feedback before moving to prototyping.

How long does each step of the ODM process[^1] take?
Many customers ask me how soon they’ll see the first sample. That depends on how prepared the input materials are, but we follow a clear timeline.
A typical ODM process takes 6–10 weeks from concept to pilot sample, depending on complexity, mold requirements, and how quickly we get approvals.
Estimated timeline per step
Let’s break it down:
| ODM Step | Tasks Involved | Time Required |
| Step 1: Idea collection | Collect references, sketch, DFM review | 3–5 days |
| Step 2: Drawing | 2D/3D modeling, material suggestions | 5–7 days |
| Step 3: Quotation | Confirm material, packaging, printing | 2–3 days |
| Step 4: Sample making | Prototype creation, functional check | 10–14 days |
| Step 5: Revisions | Feedback changes, new sample if needed | 7–10 days |
| Step 6: Pilot testing | Mold approval or soft tooling | 7–14 days |
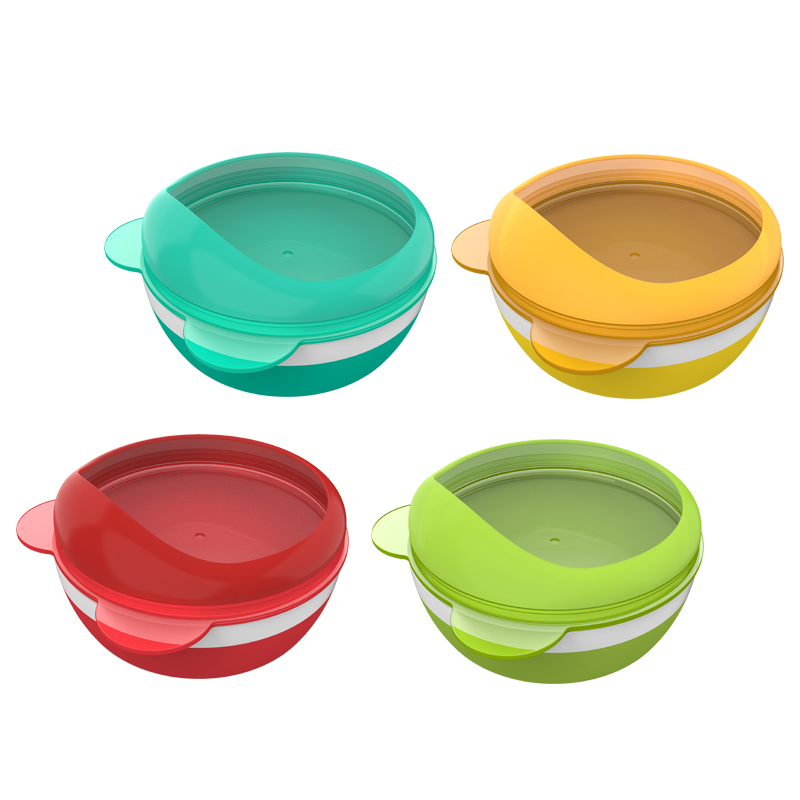
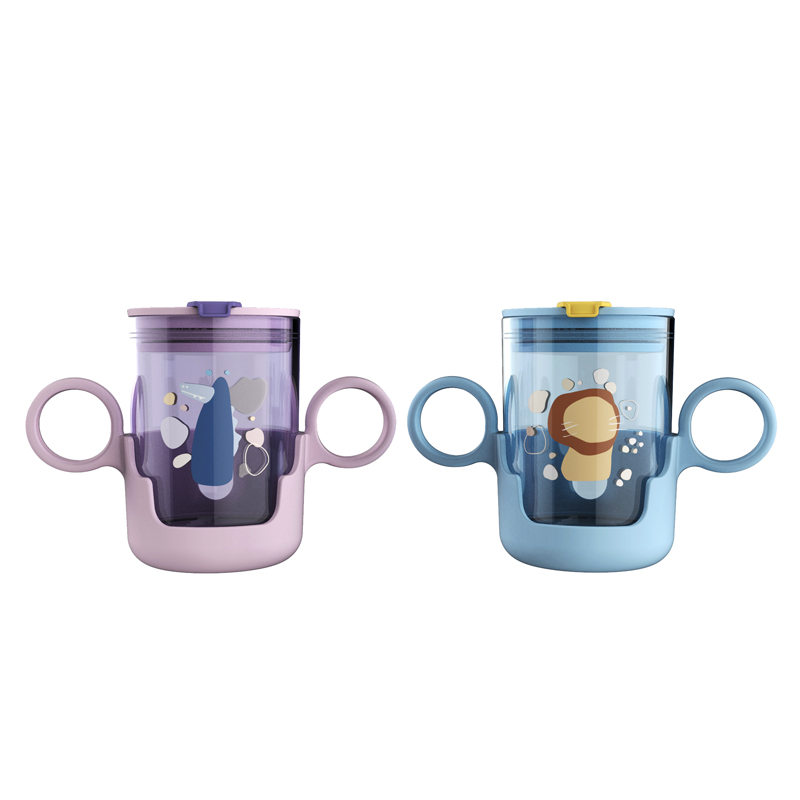
For simpler plastic items like baby bowls or spoons, we can compress the timeline. For multi-part items like suction base sets or dual-compartment plates, extra time may be needed for functional testing.
What support do you offer during the sample stage?
This is the most sensitive stage. I know many importers worry about wasting money on samples that don’t match their vision. That’s why our team gives detailed feedback before and after sample creation.
During the sample stage, we offer material verification, printing mockups, tolerance checks, and real-time updates including photos and videos of the prototype.
Sample-stage services
Here’s what you can expect:
| Support Type | Description |
| Material confirmation | We send photos of selected PP, Tritan, etc. |
| Printing previews | You approve digital mockups of logos |
| Function checks | Suction test, lid fitting, leak test |
| Tolerance report | Basic size tolerance check using calipers |
| Video review | Short video showing actual sample usability |
We also allow 1–2 rounds of revisions before final tooling. Our engineers record all measurements, and we create documentation that your QC team can use later.
If a sample fails your expectations, we fix it before moving forward. That way, your downstream buyers don’t face quality surprises.
How is quality control handled in each ODM phase?
ODM quality control[^2] is not a one-time task. I’ve seen too many cases where issues could have been avoided if early-phase QC had been handled right.
We implement quality checks in all six ODM steps—from drawing to pilot sample—using checklists, tolerance tests, and pre-production reviews.
Quality control by phase
| Phase | QC Focus | Method |
| Drawing review | Dimensions, wall thickness | Internal DFM check |
| Quotation phase | Material and certification match | Cross-check with compliance list |
| Prototype making | Fit and function | Suction test, lid closure check |
| Sample revisions | Improvement confirmation | Video/photo report, checklist |
| Pilot mold test | Mass production feasibility | Mold flow, flashing, parting line QC |
| Pre-shipment | Full QC checklist | AQL inspection + drop test |
We use our standard B2B QC checklist, but we can also follow your format if provided. Everything is documented—photos, reports, test data—and shared before mass production approval.
For complex parts like suction bases or tight-fitting lids, we recommend running a mini production batch for QC stress testing. That extra step protects your reputation.
Conclusion
Our 6-step ODM process helps your brand launch baby tableware products smoothly—with the right design files, timeline, sampling support, and quality checks at every stage.
[^1]: Understanding the ODM process can help streamline your product development and ensure quality control at every stage.
[^2]: Exploring quality control methods can enhance your product's reliability and customer satisfaction, ensuring a successful launch.
[^3]: Knowing the necessary design files can expedite your project and improve communication with suppliers, saving you time and resources.


